In this post I demonstrate how to access and change the settings of objects in Blender including the scene, light and camera while also swapping out the default cube for a plane. Having custom Python scripts can be useful and learning it in Blender a fun process.
Copy and paste the llink below here to preview the course on Udemy!
Check out the YouTube video here:
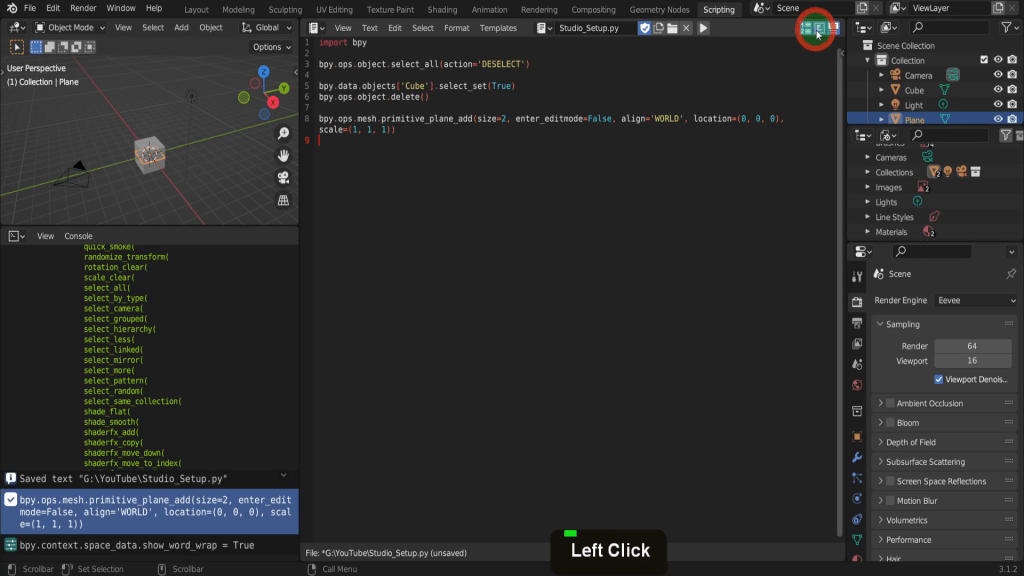
We begin in the scripting tab and in the text editor click new and create a new document. We can give this a descriptive name and call it Studio_Setup.py. We use .py to specify a python file.

Then from the text menu you can save the file. Like all scripts in Blender we can start with the:
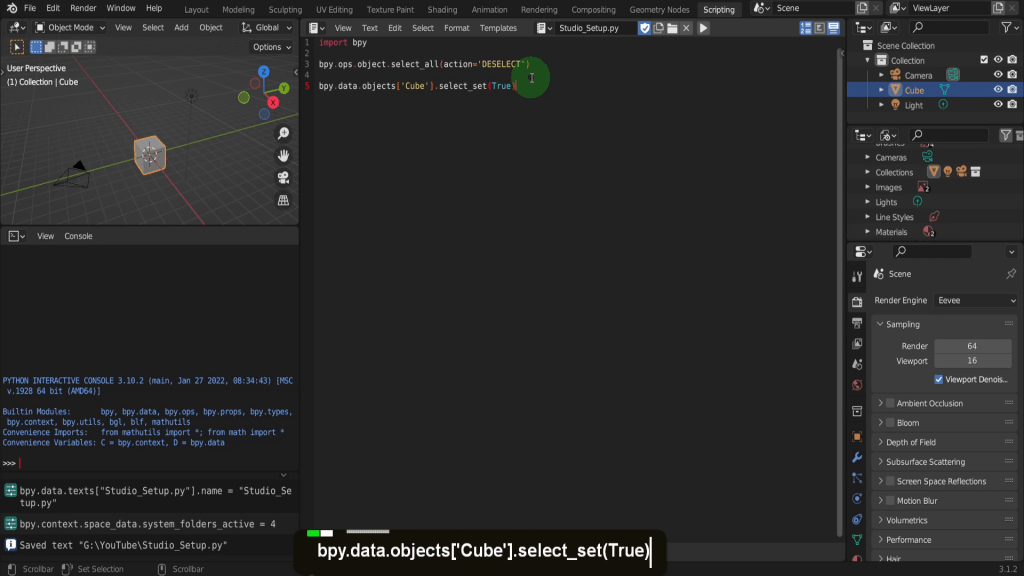
import bpy

This imports the blender python module and makes this available to the script. We continue by making sure nothing is selected in the scene by using:
bpy.ops.object.select_all(action=’DESELECT’)

Here we are calling the select all operator and using the action flag to deselect all. This ensures if any objects are selected they are deselected first otherwise they could end up deleted once we call that command if selected. Next we want to remove the cube from the scene so we can select the object named cube using:
bpy.data.objects[‘Cube’].select_set(True)
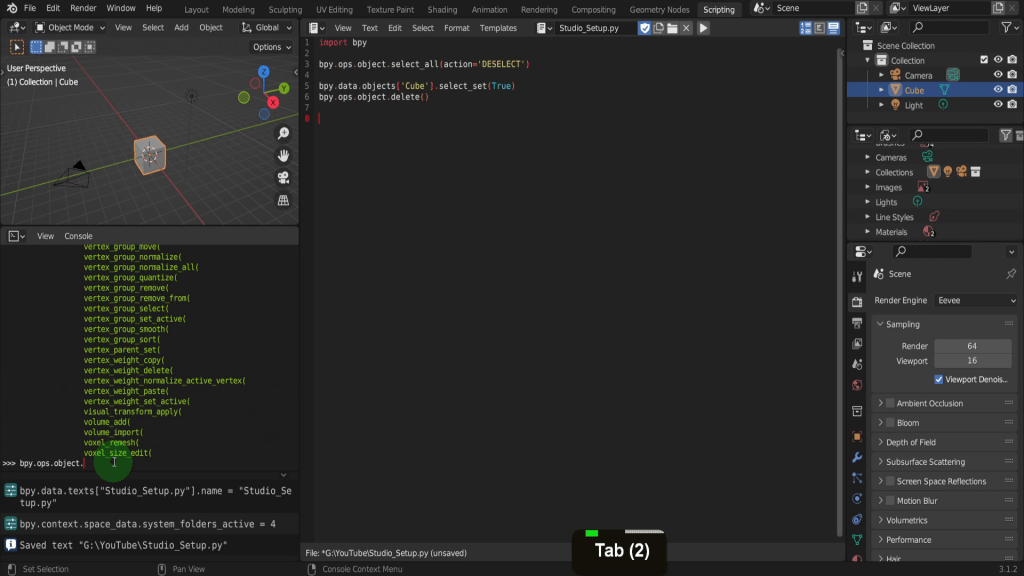
Then delete the cube using:
bpy.ops.object.delete()

This does mean when running the script there must be a cube in the scene. That’s fine here because the default Blender scene will have a cube to delete. The above operators can be found in the console by typing:
bpy.ops.object
and press tab for auto correct to see the available list.
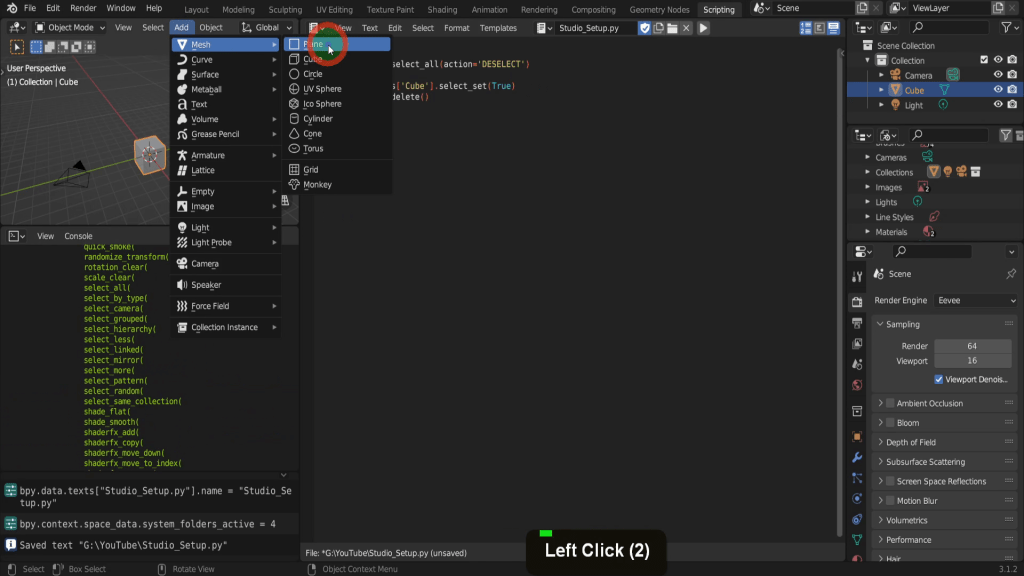
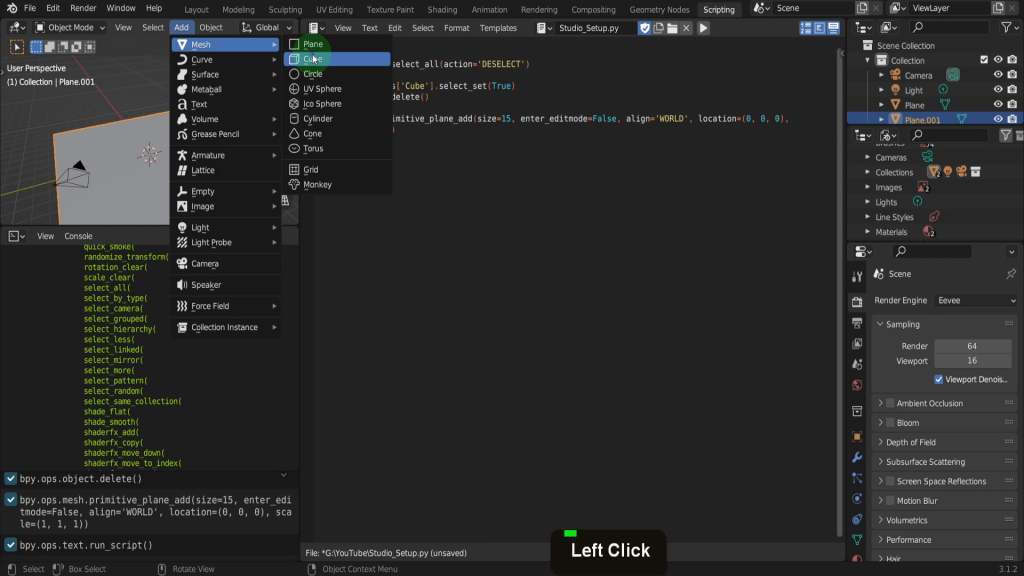
Next we need a floor so from the add menu in mesh we can add a plane.
In the info editor below the operator is displayed so select it first, then right click and choose copy.

That way in the script we can paste it using Ctrl + V. The line extends beyond the viewable area so switch on word wrap and have this entire line visible.
The default size can be increased to 15 by updating the size argument.

Then we can hard code the location by making sure the the X,Y,Z are 0,0,0 and not rely on the 3D cursor being centre of the world. Pressing Alt + P will run the script at this point.

Next we can change some of the camera properties. First we can add a cube back into the scene from the add menu.
Now to change the camera settings we first create a variable and assign this to the object named camera using:
cam = bpy.data.objects[‘Camera’]
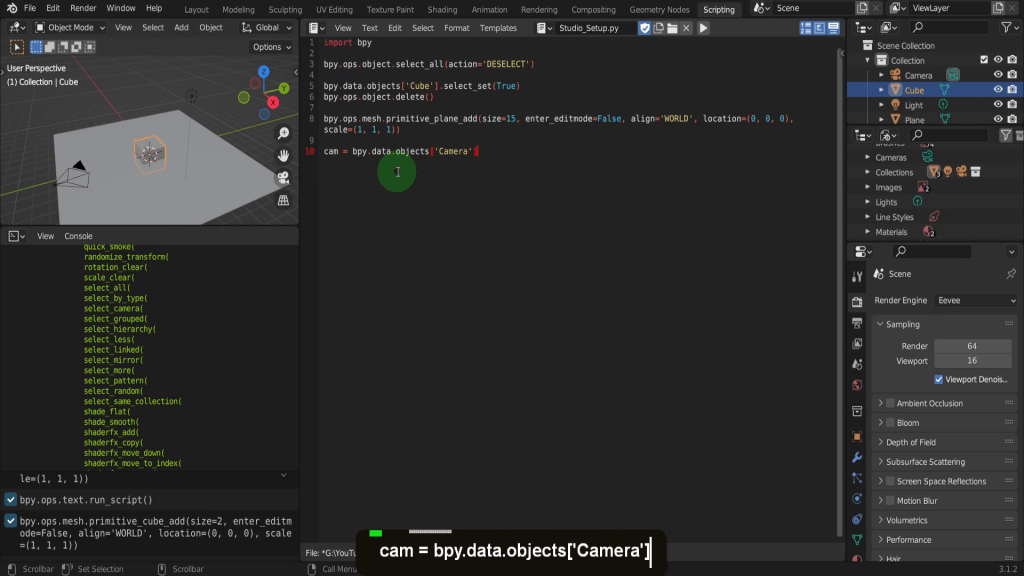
That way we can access the camera focal length property and adjust this through the variable using:
cam.data.lens = 70
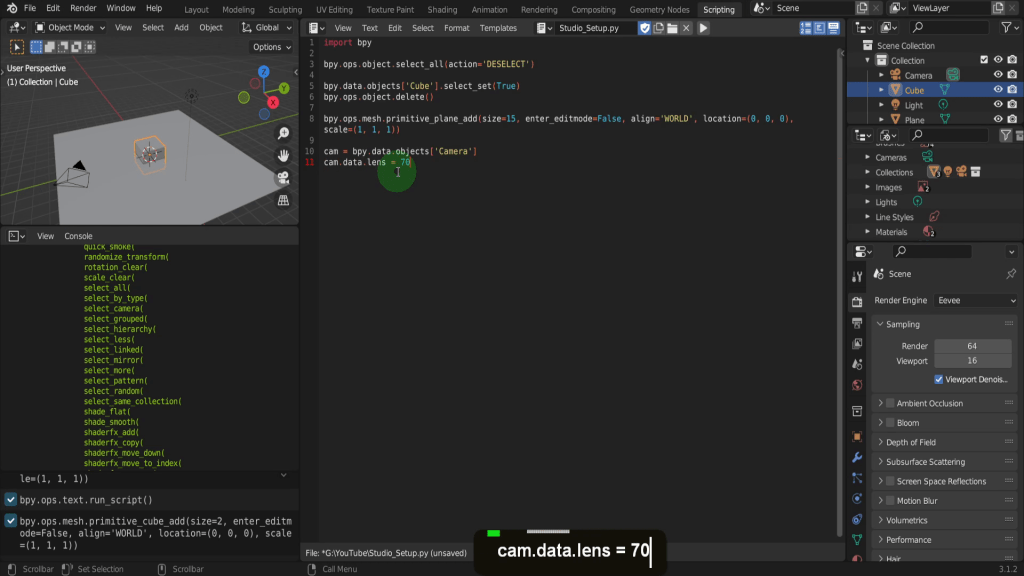
Here we are changing the cameras focal length value to 70. You can see this command if you select the camera and open the camera properties. Hover on the lens field and the tool tip will display the Python command. This setting needs to be enabled in preferences so press F4 and open preferences here. Open the interface tab and in tool tips put a check mark to enable the python tool tips.
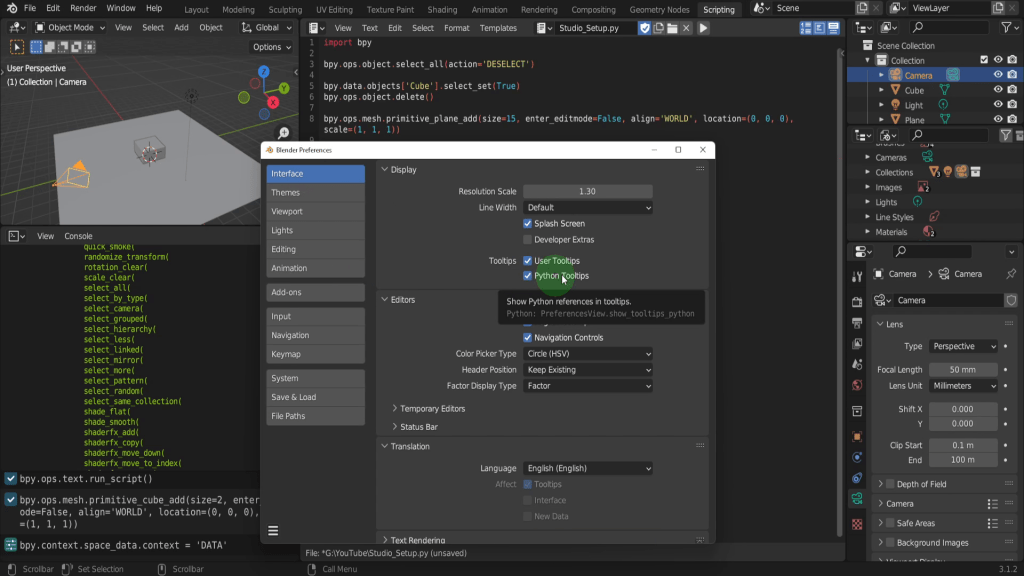
Then close preferences. Hovering now will display the tooltip.

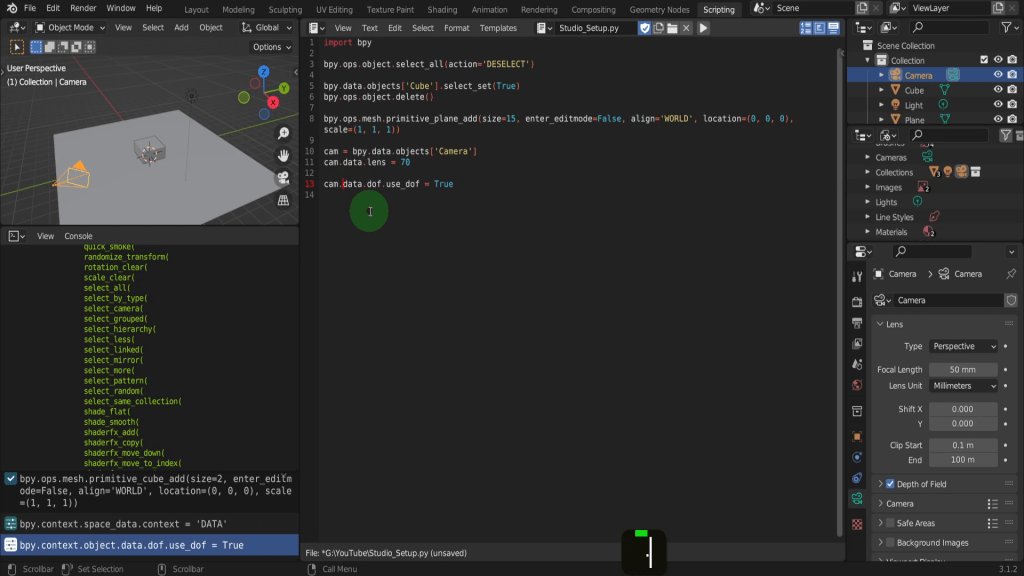
We are using it a different way but its achieving the same outcome. Next check on the depth of field for example. In the info editor we can copy this line. In the text editor lets add:
cam
Then paste in that line. We can remove some and have this read:
cam.data.dof.use_dof = True
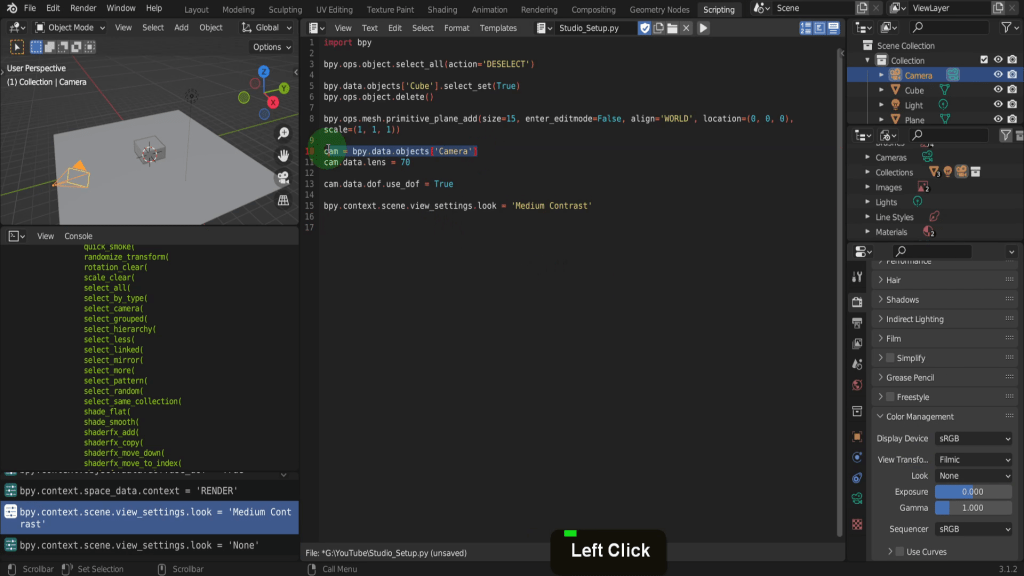
This is a simple true or false property we enable by using True here. An example of changing the scene properties will be here in the render properties tab and the colour management tab. From the look drop down change this to medium.
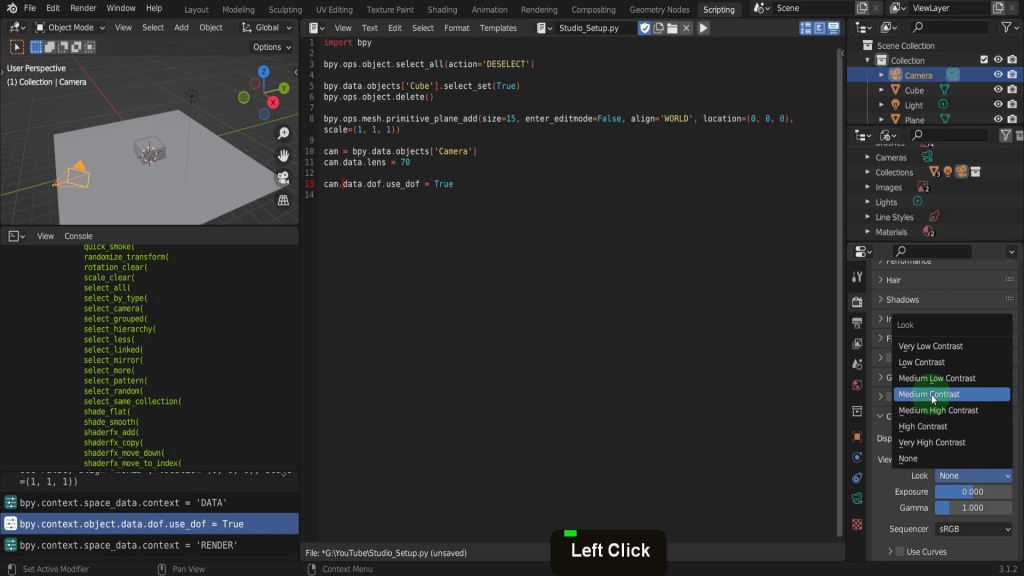
That way the command is available here and paste this into our script.:
bpy.context.scene.view_settings.look = ‘Medium Contrast’
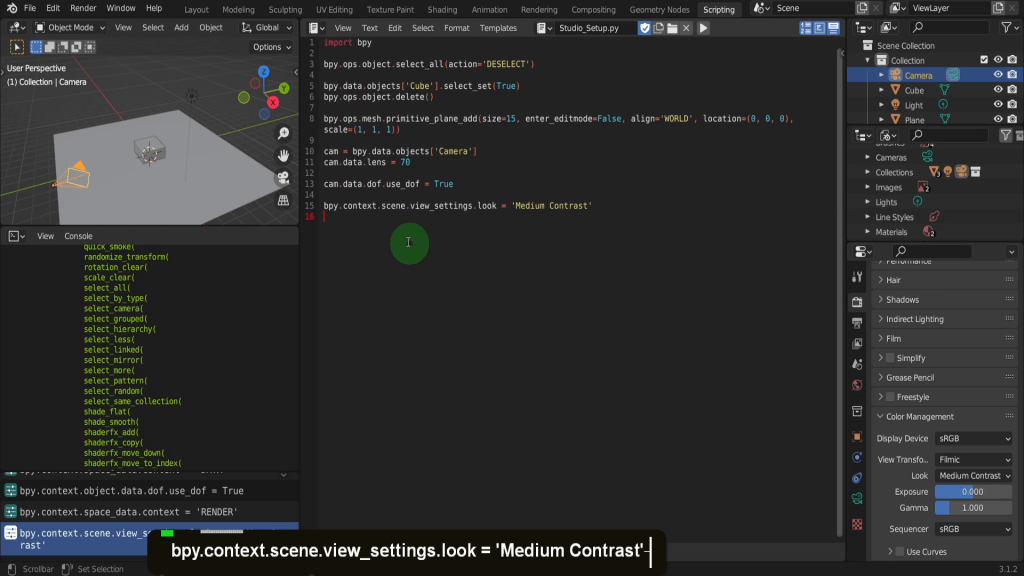
Change the look setting back to none to see the change when the script is run. Next we can update the scene lamp and we can do something similar to what we did for the camera. Actually copy this line here:
cam = bpy.data.objects[‘Camera’]
and paste this below. Then change the name Camera to:
Light
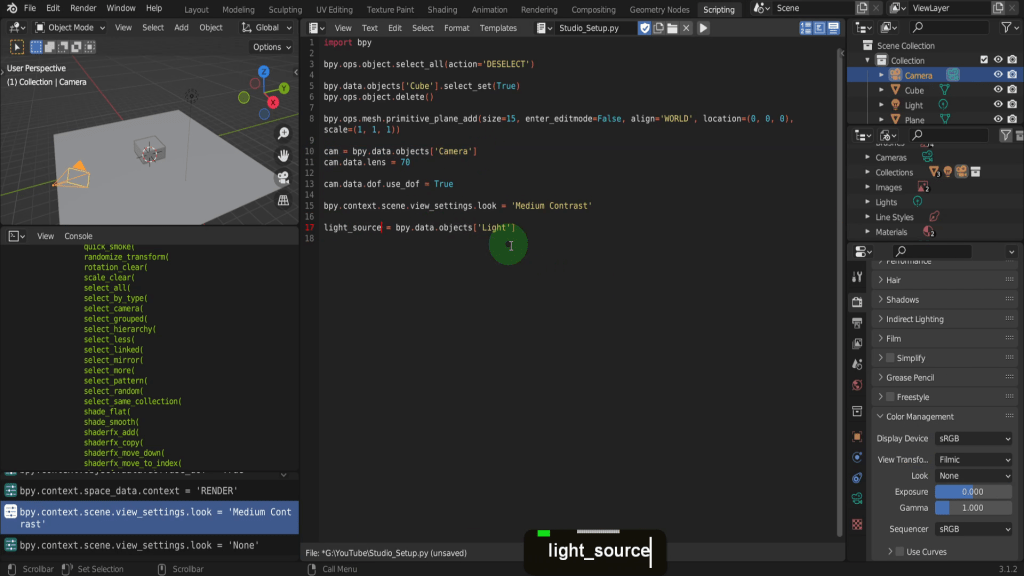
Then in front we can use a variable:
light_source = bpy.data.objects[‘Light’]
And make this equal to the light object in our scene.
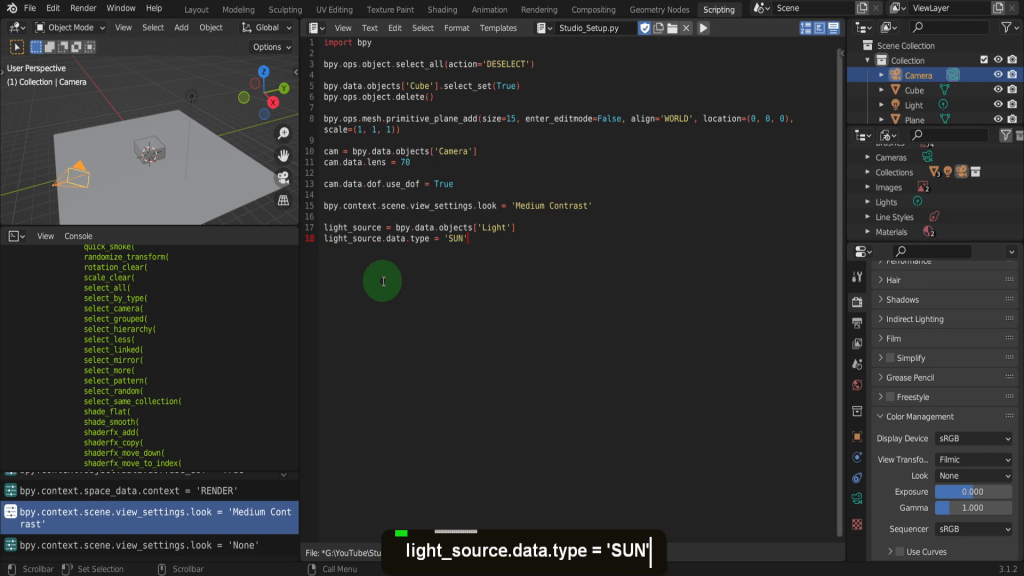
Next we can access the light properties and change the light type from point to sun using:
light_source.data.type = ‘SUN’
Then we can set the strength to be 1 using:
Light_source.data.energy = 1

Finally update the render engine from eevee to cycles and get ready to render. We can use:
bpy.context.scene.render.engine = ‘CYCLES’
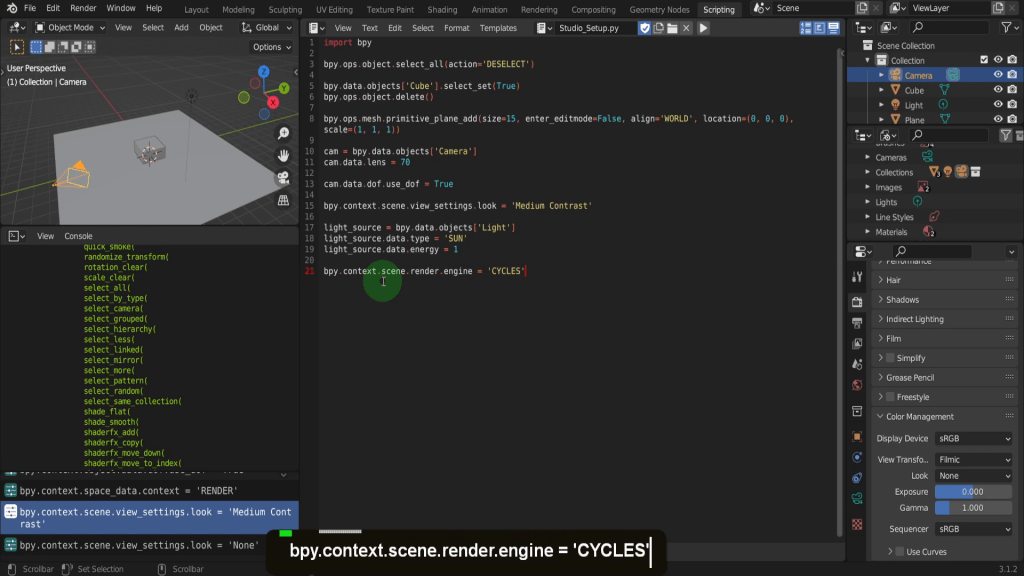
Here we access the scene and the render engine and set this to be cycles. Now we are ready to run the script so up top click and run the script. This replaces the cube with a plane and changes the properties on the lamp, camera and scene. Then its a matter of adding this to a button on the sidebar so you can quickly setup your scene.

For more Blender Python check out my Python course on Udemy and start getting more with Python.
Copy and paste the llink below here to preview the course on Udemy!
