Welcome to this detailed tutorial on designing models specifically for 3D printing using Blender. This guide will walk you through the essential principles and practical steps to ensure your 3D models are optimized for successful printing. Whether you are a beginner or an experienced modeller, these insights will help you create high-quality, print-ready designs.
Table of Contents
1. Introduction to 3D Printing Requirements
2. Blender Setup for 3D Printing
3. Modelling Best Practices for 3D Printing
4. Ensuring Watertight Models
5. Handling Overhangs and Supports
6. Optimizing Mesh for Printing
7. Exporting Models for 3D Printing
3D Printing from Zero to Hero in Blender – FDM & MSLA

1. Introduction to 3D Printing Requirements
3D printing transforms digital models into physical objects. To ensure successful prints, models must meet specific requirements. These will include having Manifold Geometry. That is, Models must be “watertight” or manifold, meaning every edge belongs to exactly two faces.
Avoiding Overhangs: Minimize overhangs to reduce the need for supports, which can affect print quality and increase post-processing. While its fine having overhangs in your model, they need to be accounted for and handled correctly, to reduce the risk of print failure
Detail Resolution: Design with the printer’s resolution in mind to ensure fine details are accurately reproduced. When creating models for 3D printing, one of the critical factors to consider is the resolution of the 3D printer. Printer resolution affects the level of detail your printed object can achieve and ensures that the fine details of your design are accurately reproduced.
2. Blender Setup for 3D Printing
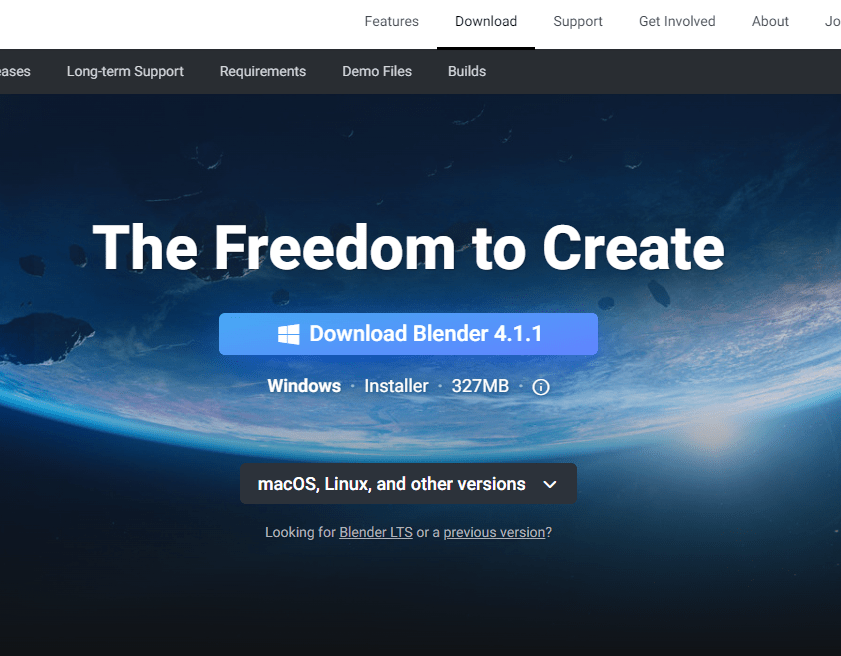
Start by configuring Blender for 3D printing tasks. Begin with the Installation of Blender: Download and install Blender from [blender.org](https://www.blender.org/download/).
Enable 3D Printing Toolbox Add-on: Go to the Edit menu, Preferences and open the Add-ons tab. In the search field look for “3D-Print Toolbox”. Put a check mark in the box and enable it.

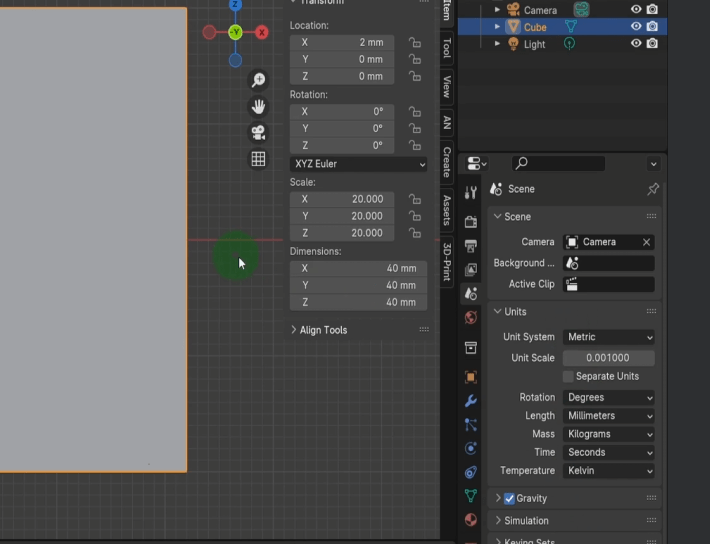
Set Scene Units and Scale:
Go to the Scene Properties tab and set the `Units` to `Metric` or `Imperial` based on your preference. Then in the lent field select the unit you’d like the dimensions to be displayed in the scene. So for example if your unit system is metric you might like to use millimetre. Whereas if your unit system is imperial you might like to use inches. When working in millimetres, change the unit scale to 0.001. This way when exporting your model to slicers such as Prusa slicer the model imports at the correct dimensions.
3. Modelling Best Practices for 3D Printing
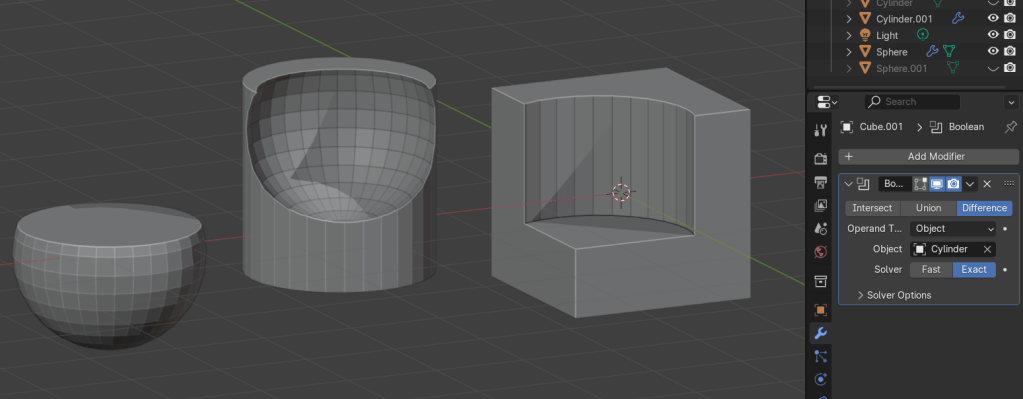
Use Primitive Shapes: Begin with basic shapes like cubes, spheres, and cylinders. This can help ensure a clean, manifold base to begin modelling upon. Blender provides a selection of these primitive mesh shapes to help you get started.

Boolean Operations: Use boolean modifiers for complex shapes, but make sure and clean up resulting geometry to avoid non-manifold edges.
Maintain Proper Wall Thickness: Wall Thickness is really important. Ensure walls are thick enough for the intended printing material. For most FDM printers, a minimum of 1-2 mm is recommended.
Minimum Wall Thickness: Ensure all parts of the model are thick enough to print without breaking. Certain materials require a minimum wall thickness to successfully print. Check material specifications and match those sizes during the modelling process.

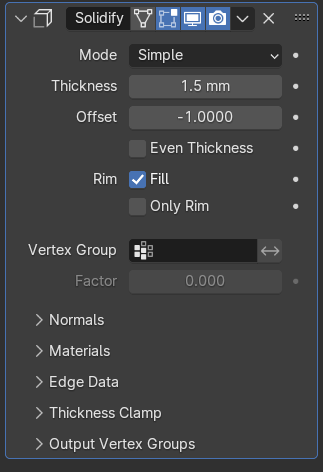
Solidify Modifier: Use a Solidify Modifier to give flat surfaces the necessary wall thickness.
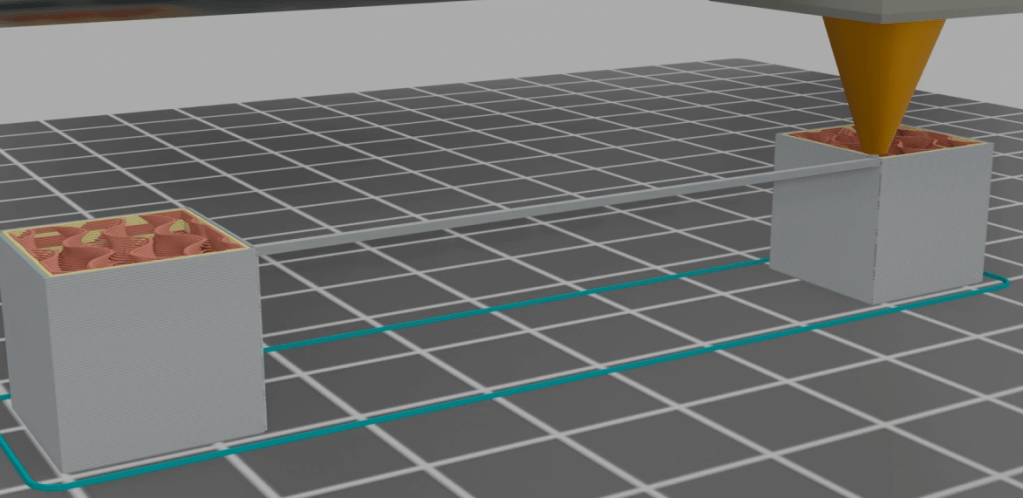
Design for Print Orientation: Print orientation plays a big part in the success and quality of your 3D printed models. The orientation of your model on the print bed affects surface quality, strength, print time, and the need for supports.

Minimize Overhangs: Design parts to minimize overhangs greater than 45 degrees. When designing models for 3D printing, aim to reduce or eliminate sections of the model that extend outwards at an angle greater than 45 degrees from the vertical plane. Overhangs exceeding this angle often require additional support structures during printing, which can increase print time, material use, and post-processing work. By minimizing these overhangs, you can improve the print quality and efficiency of your 3D models.

Split Complex Models: Consider splitting complex models into parts that can be printed separately and assembled.
4. Ensuring Watertight Models
In 3D printing, a watertight model is one where the geometry is completely closed, with no gaps, holes, or non-manifold edges. This means every edge of the model must connect to exactly two faces, forming a continuous and sealed surface. Ensuring your model is watertight is crucial for successful 3D printing because it prevents errors in the slicing process and ensures the printed object is solid and structurally sound.
Check for Non-Manifold Edges: In 3D modelling for printing, non-manifold edges are problematic because they indicate parts of the model where the geometry is not correctly formed. Non-manifold edges occur when an edge does not connect to exactly two faces, leading to issues like holes or self-intersections. To ensure a model is suitable for 3D printing, you must identify and fix these non-manifold edges. Use the 3D Print Toolbox add-on to check for non-manifold edges.
Merge Vertices: Remove duplicate vertices using `M > Merge by Distance`. This ensures all vertices are properly connected to form a continuous surface.

5. Handling Overhangs and Supports
When creating 3D models for printing, it’s important to consider how the model will be supported during the print process. Supports are temporary structures added during printing to hold up overhanging parts of the model. Effective support design involves:
Angle Consideration: Redesign parts with overhangs less than 45 degrees to avoid supports. Add Custom Supports. In Blender, you can model custom supports that are easier to remove and minimize scarring. Using the Support Generation in Slicing Software: Most slicing software like PrusaSlicer offers support generation tools. Use these tools to add supports where necessary, keeping in mind the ease of removal.
6. Optimizing Mesh for Printing
Simplify the Mesh. Use the `Decimate Modifier` to reduce polygon count without losing significant detail. This is especially useful for large models with fine details.
Check for Normals. Ensure all face normals are pointing outward. In Edit Mode, select all faces and recalculate normals using `Shift + N`.
Apply Modifiers. On export ensure the modifiers get applied and the final model is ready for 3D printing.
7. Exporting Models for 3D Printing
Final Checks. Use the 3D Print Toolbox to check for manifold issues, overhangs, wall thickness, and other printability factors. Fix any issues detected before exporting the final model.
Export as STL or OBJ files. Select the model and go to `File > Export > STL` or `OBJ`.

By following these steps, you can create 3D models that are optimized for 3D printing. Proper preparation and understanding of the printing process will lead to successful prints and high-quality physical objects. Check out my detailed course on Udemy and get the knowledge to 3D Model and 3D Print your own designs.
3D Printing from Zero to Hero in Blender – FDM & MSLA